SMS marketing is an effective way to reach your users directly on their mobile phones. Go-Mailer allows you to configure and manage SMS campaigns seamlessly, providing tools for automation, personalization, and advanced tracking. Follow this step-by-step guide to learn how to set up SMS marketing on Go-Mailer.
Step 1: Activate the SMS Marketing Integration
- Log in to your Go-Mailer Account
- Navigate to the subscriptions section from your dashboard.
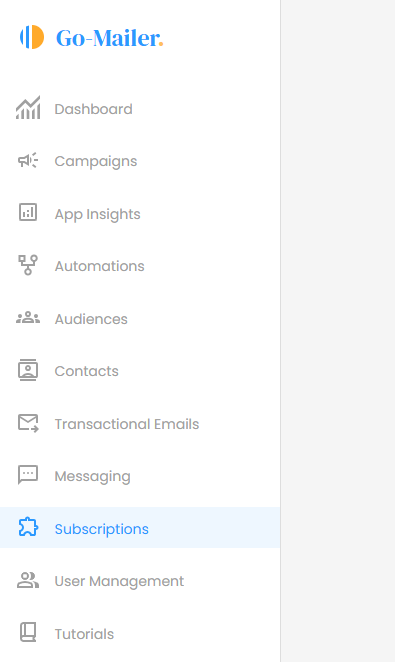
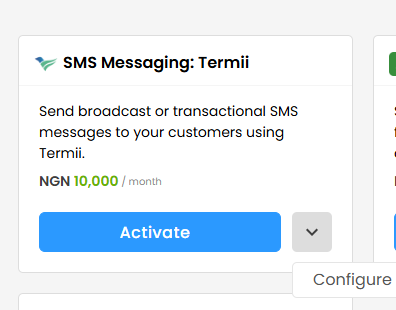
- Look for the card labeled “SMS Messaging”.
- Click Activate. A checkout modal will appear, prompting you to:
- Confirm your contact bracket (number of contacts you want to engage).
4. Set your preferred currency and view the updated pricing summary.
5. Complete the payment using a credit card (only card payments are supported).
6. Payment Confirmation: On successful payment,
- Your SMS Messaging will be activated.
- You will receive an invoice for the subscription.
Step 2: Configure the SMS Integration
- From the SMS Messaging Card, select Configure in the dropdown menu.
- Enter the required details:
- Webhook URL to collect insights on message delivery and interaction.
- API Key from Termii, our supported SMS provider.
Note: You are required to create a Termii account to generate an API key.
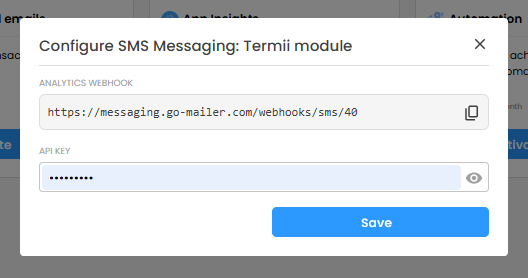
- After successfully entering the required details, click “save” to complete the setup. A record for your organization will be created.
Step 3: Create and Manage SMS Campaigns
- If you have an active SMS subscription:
- Navigate to “Messaging” from the dashboard. Here, you can view a list of your SMS messages, sorted by creation date
- To create a message, select the “create” button to open the creation modal, and fill in the following fields:
- Title: A short identifier for the campaign.
- Sender ID: Choose an existing Sender ID or create a new one.
- Message Type: Select between transactional or promotional broadcasts
- Message Body: Craft your SMS message (ensure it is within 160 characters).
- For Broadcasts:
- Select the audience group.
- Schedule the send time using the date-time picker.
- Save and Send
- Save the message as a draft or finalize it.
- Scheduled messages will be sent automatically at the configured time.
Step 4: Personalization and Automation
- You can use placeholders to personalize your messages for higher engagement (e.g. @firstname)
- You can also incorporate SMS messages as part of your automation workflows and neuron processes.
Deactivate SMS Messaging
You can easily deactivate your SMS integration anytime. To do this, select the deactivate button from the SMS Integration Card to disable the feature.