
This article highlights the step-by-step process of importing your contacts to Go-Mailer.
There are two ways you can import your contacts Go-Mailer:
- Manually adding a contact to Go-Mailer
- Uploading a CSV file
Step 1 – Preparation
Before you begin the process of importing your contacts to Go-Mailer, here are the steps you need to follow:
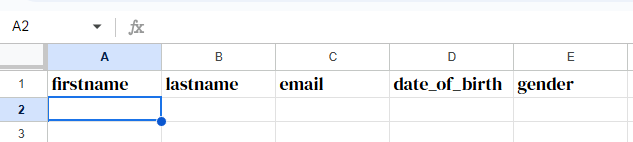
- On your computer, open your Excel of Google spreadsheet
- Create a blank/new sheet
- Add new columns for:
- firstname
- lastname
- email (necessary)
- gender
- Date_of_birth
- Create a label for any other additional column you want to include with your import.
- Map out your column headers with the accurate data of your contacts.
Duplicate contacts? Do not worry! Go-Mailer automatically identifies and cleans up duplicate contacts from your list.
Step 2 – Importing Your Contacts
The next step is to import your contacts to Go-Mailer.
First, you need to convert your sheet into a CSV. file. Read this article to learn how to convert your file to CSV.
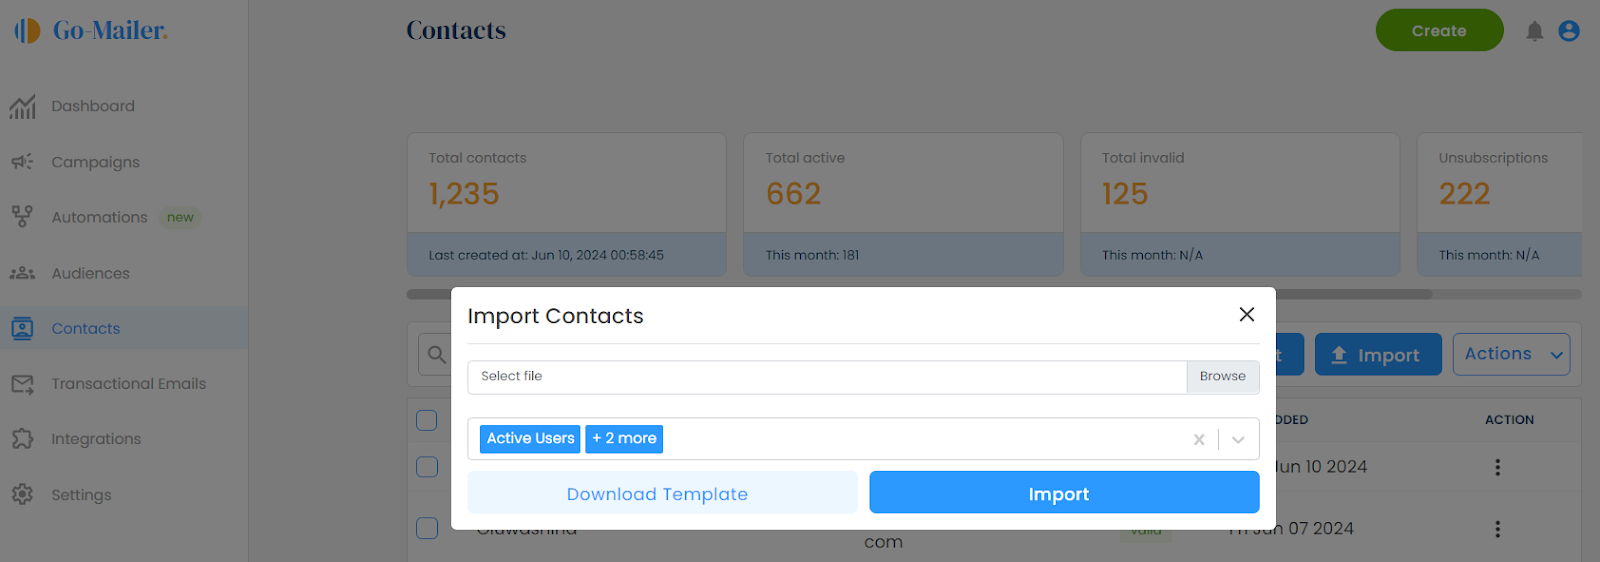
On your Go-Mailer dashboard, navigate to ‘contacts’ and select the ‘import’ option. If you have a desired audience you want to import your contacts to, you can select the audience and hit the import button.
If you want to segment your contacts into multiple or different audiences, you can always go ahead to re-import your contact file. Go-Mailer automatically clears out duplicates.
Contact Field Mapping
To ensure your contact is properly imported, you need to:
- Map your files with Go-Mailer’s provided headers
- Retain your unique headers and map your headers to match the existing headers on your account.
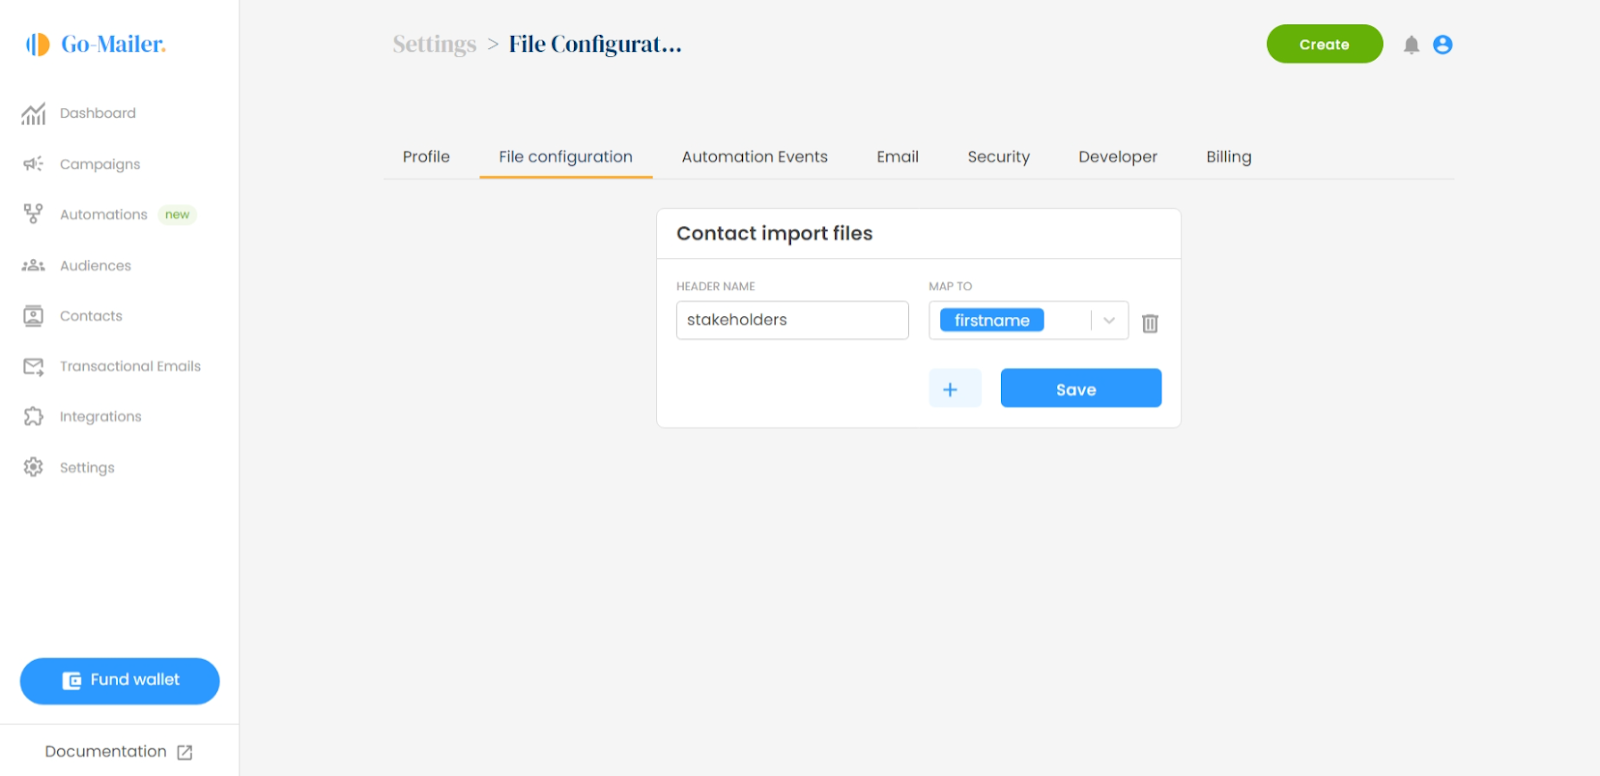
For instance, if you want to use ‘stakeholders’ instead of ‘firstname’, or ‘Last Name’ in place of ‘lastname’, you can map your headers to match the existing headers on your account. To do this,- Navigate to settings on your Go-Mailer account
- Click on file configuration and select the + button
- Type in your organization header and map them to the headers you want
- Click save
Note: Contact mapping is highly important, as it enables you to accurately segment and personalize your emails.
Manually Adding Contacts
This option is great if you want to update your contact list with only a few contacts. To add a contact manually,
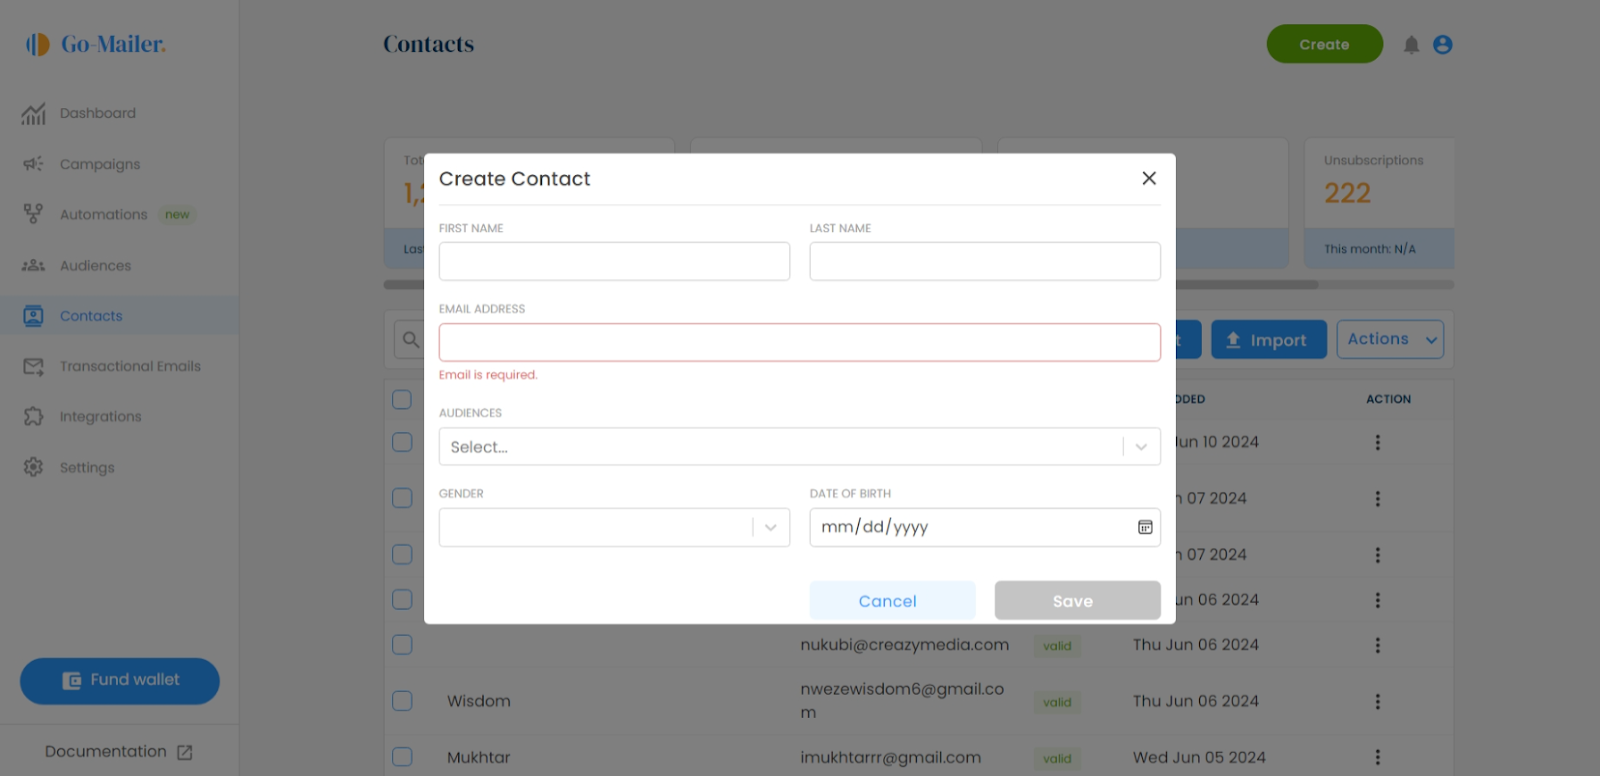
- Navigate to contacts on your Go-Mailer account and select the +contact button.
- Input your contact’s first and last name, email address, gender, and date of birth
- Select the audience(s) you want to add your add your contact to and hit save
Please note that the only required field for adding your contacts manually is the email address.
That’s it! You have successfully added your contacts to Go-Mailer.


Be the first to comment